


Maintaining perfect tire pressure is essential for driving security and enhancing various factors of your vehicle’s performance. Preserving your tires filled to the proper pressure levels improves not only protection but also fuel efficiency and tire longevity. In this complete guide, we want to deliver you with an evident and straightforward set of requirements for checking tire pressure tailored definitely to your Honda Civic.
The Honda Civic is a favorite car preference globally due to its reliability. Proper tire pressure care is essential for optimal arrangement and longevity. Let’s go over the actions to ensure your Honda Civic’s tires are always at the optimal pressure level for a comfortable and safe passage.
Understanding Tire Pressure
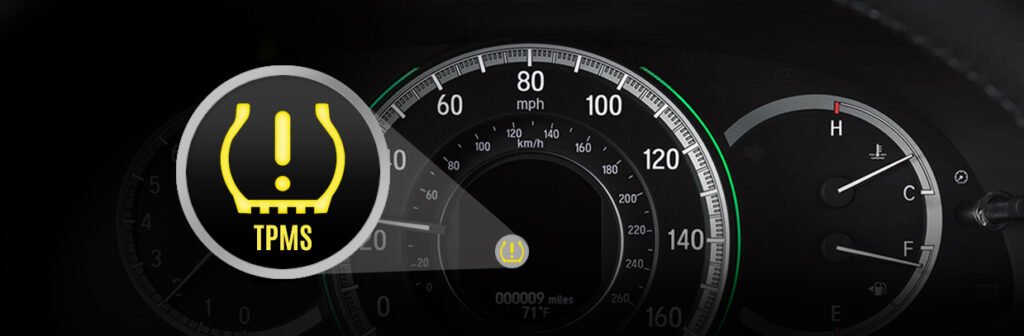
Before delving into the complications of preventing the tire pressure on your Honda Civic, it’s crucial to capture the essence of this regular maintenance job. Understanding why observing tire pressure concerns can rid light of its vital role in general vehicle performance and security. Wrong tire pressure isn’t only a problem; it can have profound effects such as irregular tire wear, compromised traction, and a high risk of potentially harmful blowouts.
These effects not only risk your road safety, but they also involve the longevity of your tires and the complete performance of your Honda Civic.
However, by integrating regular tire pressure checks into your maintenance routine and ensuring that you always extend your tires to the recommended levels, you are actually protecting against these issues. In addition to improving your driving experience by promoting softer handling and enhanced fuel efficiency, maintaining your Honda Civic also contributes to its best performance for miles to come.
Step 1: Gather the Necessary Tools
To check the tire pressure for your Honda Civic, start by gathering the required tools and gear. Preparing the tools needed ahead of time is essential to confirming a peaceful and organized inspection procedure. One of the most critical tools for this task is a tire pressure gauge, which can be efficiently acquired from most auto shops. This easy yet essential tool helps you accurately measure the air pressure in each tire, providing vital details about your tires’ present requirements.
Additionally, having access to an air compressor is highly suggested, as it permits you to change tire pressure as needed by adding or removing air. While not totally obligatory, an air compressor facilitates the task and assures that you can promptly manage any variations from the recommended tire pressure levels. By preparing yourself with this necessary equipment, you’ll be ready to begin the tire pressure-checking routine for your Honda Civic, improving security, performance, and overall peace of mind on road trips.

Step 2: Locate the Recommended Tire Pressure
This note can be found in two locations: the owner’s manual that came with your vehicle and on the driver’s side door panel label. Both of these references contain valuable guidance regarding the suggested tire pressure specifications defined in PSI (pounds per square inch).
Honda’s engineers meticulously calculate these guided pressure levels to ensure the best balance of safety, performance, and durability for your Civic’s tires. By following these instructed PSI values, you will align your tire pressure with the manufacturer’s specifications.
Step 3: Check Tire Pressure When Tires are Cold
For precise tire pressure readings on your Honda Civic, it’s crucial to examine under optimal conditions. It’s suggested to check tire pressure when cold before driving. Cold tires have not been exposed to external factors or prolonged driving that could affect their temperature.
Checking tire pressure when the tires are cold enables obtaining more precise and dependable measurements. On the other hand, warm tires, which have been in motion, may provide inaccurate readings. When tires are warm, the air inside them develops due to increased temperature, leading to higher pressure readings.
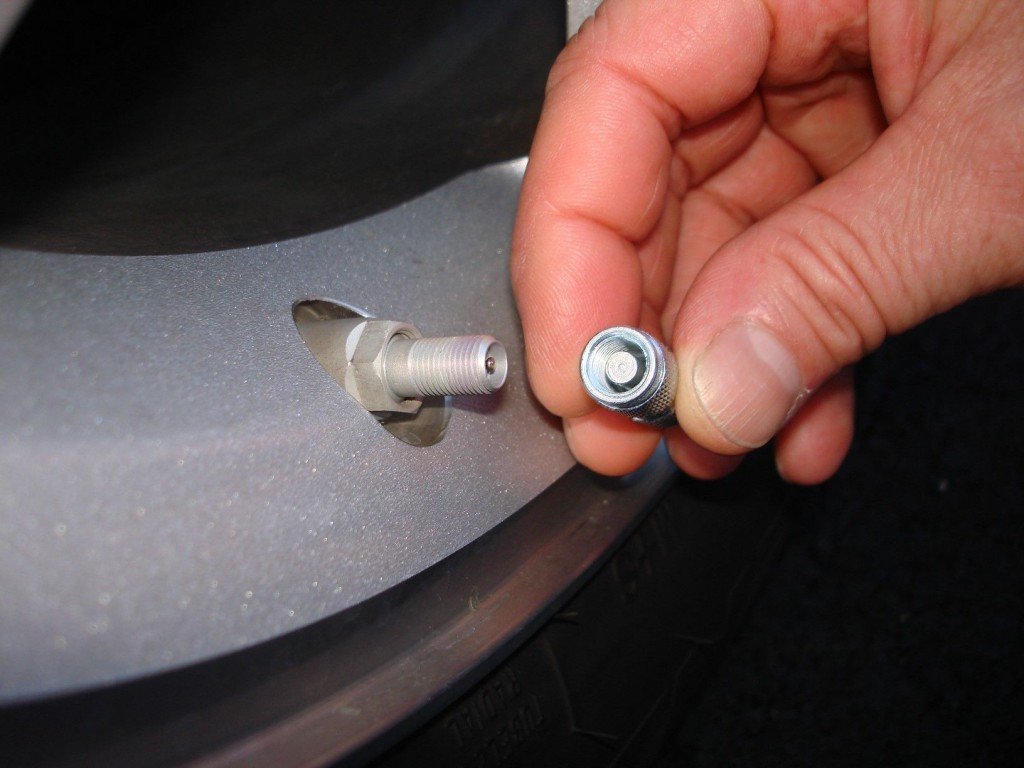
Step 4: Remove the Valve Cap
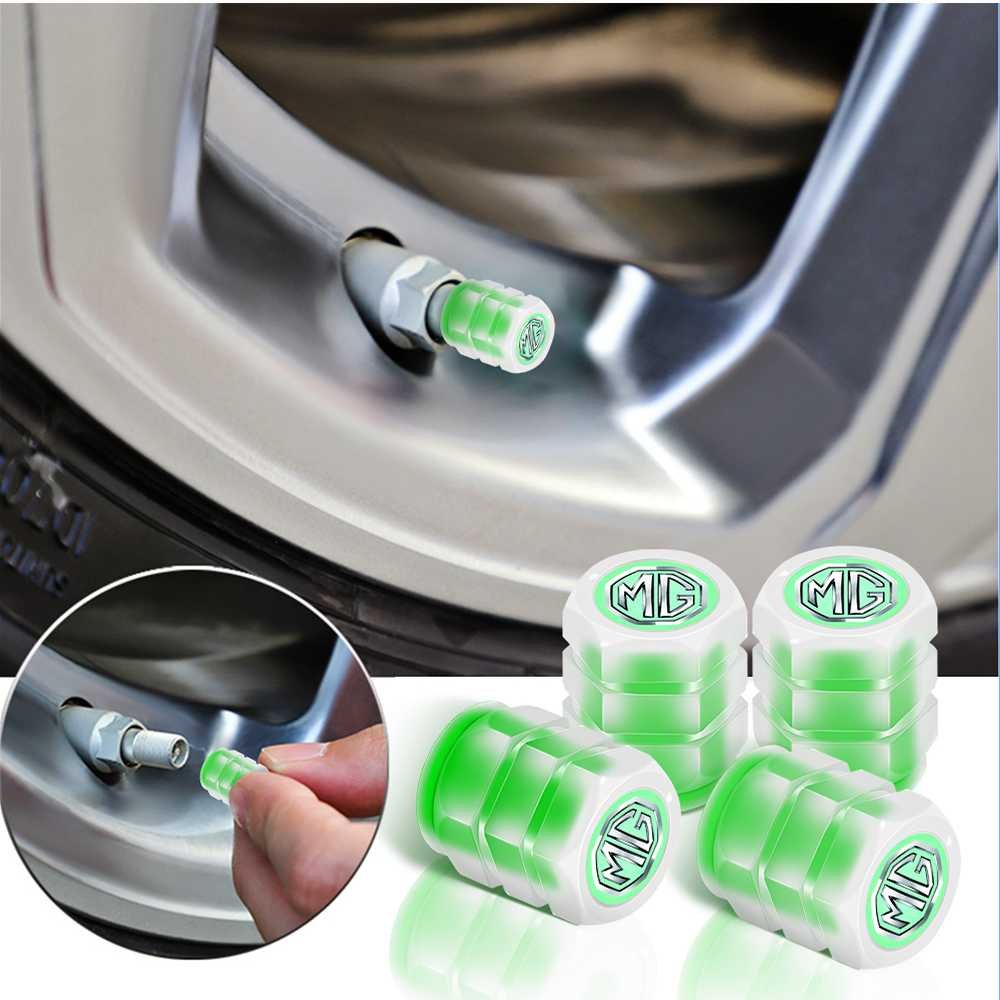
The valve cap wraps the valve stem from dirt, soil, and moisture, which may damage its function. To remove the valve cap, you should unscrew it from the valve stem with your fingers and store it somewhere secure where it will not be lost. The valve stem, which is often a tiny projecting element made of silicone or iron, sits on the tire’s outer shell.
Its primary function is to deliver access to the tire’s interior for dispensation and pressure measurement purposes. By revealing the valve stem, you gain access to the crucial point through which you’ll interface with the tire pressure gauge to get proper pressure readings. Therefore, taking care to remove and retain the valve cap ensures cleared access to the valve stem, enabling smooth and hassle-free tire pressure checks on your Honda Civic.
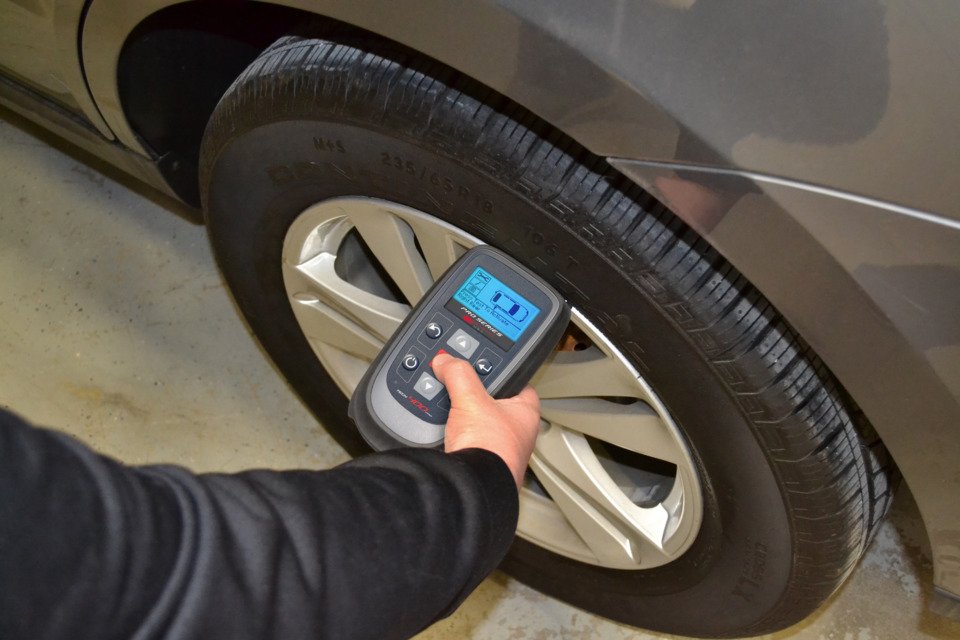
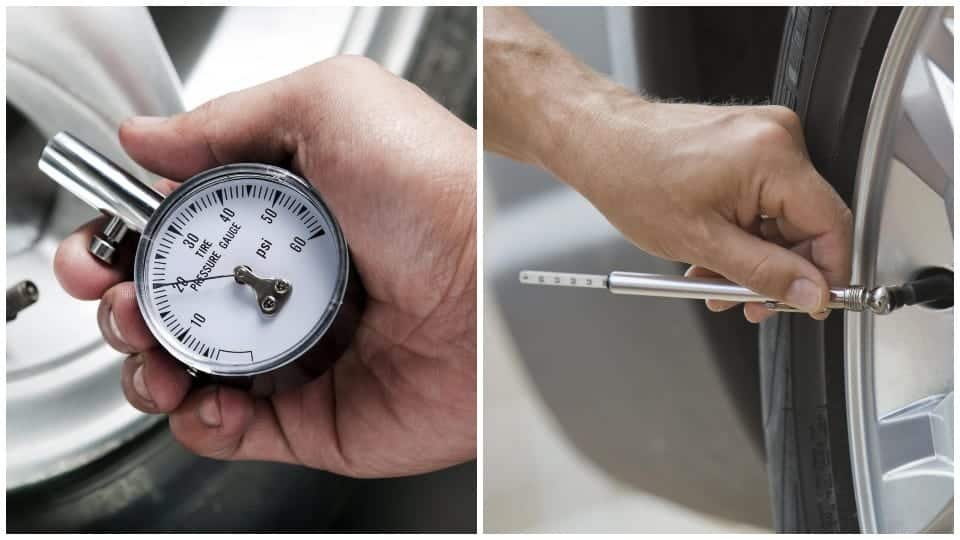
Step 5: Use the Tire Pressure Gauge
Remove the cap from the valve — if it’s still there — and expose the valve stem. Then, insert your tire pressure gauge and firmly press it onto the valve stem. You’ll feel a slight resistance, indicating that you have connected it correctly.
When you have it locked in and ready to go, release it for a moment to obtain an accurate reading. The PSI (pounds per square inch) will show up on the gauge and give you all the info you need about how full your tire is. Could you do this for ALL four tires on your Honda Civic and any spare tire if that applies to your car model?
Consistent pressure checks maintain balance and consistency across all tires, directly contributing to optimal vehicle performance and road safety. Using this same procedure to check each tire’s pressure should enable you to spot deviations from the recommended pressure. You can then swiftly address those issues before they become major problems later on down the line. These check-ins are critical to protecting your tires’ long-term health while ensuring they run smoothly now!
Step 5: Compare Readings to Recommended Pressure
Once you have measured the air pressure of each tire using a gauge, the next significant task is to compare it with the recommended levels of Honda Civic’s tire pressure. This will help determine whether your current tire pressure conforms with that prescribed as optimal for your car model by Honda.
If the readings on the gauge are lower than they should be, it indicates that you will need to add some air to those tires to reach their proper inflation level. So, if any gap exists like this, an air compressor commonly found in automotive maintenance settings should do. Deflated tires can be quickly and efficiently inflated with this tool to bring their PSI reading close to the expected level.
Therefore, adding more air #to# under-inflated tires that were initially below par enhances the safety and performance of your Honda Civic and elongates its tires’ lifespan. Properly inflated #allows for good contact with# road surfaces, improving stability, traction, and fuel consumption while reducing premature wear and tear risks. Consequently, using an air compressor ensures prompt action against such divergences from specified tire pressure levels; they positively influence general care and upkeep for the wh, resulting in smooth driving experiences throughout many progressive miles ahead.
Step 6: Inflate Tires to Correct the Pressure
You will need to detect which tires have less air and address the problem by attaching an air compressor nozzle to the valve stem of that tire. As soon as you add air, the tire gradually inflates to increase its pressure. During the process, please make sure you have checked the tire pressure level when you add more air to reach close enough to the Honda Civic’s recommended PSI (pounds per square inch) limit. It checks on and off during inflation and safeguards against over-inflation.
It can affect how your tires function and whether they are safe for use. Over-inflated tires have a lesser grip, wear unevenly, and are more prone to road peril than other tires. If your tire pressure exceeds the limit suggested accidentally, don’t worry about anything because most modern valve stems have a pin down their middle, allowing for controlled release of excess air through them.
Just press this pin little by little until you reach the desired range again for its replacement with the appropriate one during rises. Observing these precautions throughout the inflating process will extend life by maintaining safety, performance, and longevity, optimizing safety, and improving performance on Honda Civic’s roads.
Step 7: Replace the Valve Cap and Repeat
Fitting the valve caps on the valve stems is crucial in finishing the tire pressure adjustment procedure for all four of your Honda Civic tires. Valve caps are essential little parts that shield valve stems from external impurities, including moisture, dirt, and debris.
Screw the valves in properly to create a compact physical barrier with the chambers, ensuring that you do it tightly enough. Through this step, foreign particles will not enter its chamber through the stem, maintaining their efficiency and lifespan.
Moreover, after installing the valve caps, you should retest to ensure that you have filled every tire upright. This final safety measure ensures that you have made prior adjustments correctly and consistently over all four wheels. By double-checking the tires’ pressure, one can trust the tires of the Honda Civic since they do not cause any problems while driving.
Conclusion
Among other things tire pressure checks are one of the regular maintenance routines for those who own Honda Civics. For the best performance and the longest life span, it’s necessary to carry out this simple task on your car’s tires periodically. This write-up provides guidelines on maintaining proper inflation levels for their Honda Civic tires at regular intervals. It raises road safety while at the same time improving fuel consumption rates and extending the lifespan of tires. By regularly checking tire pressure and promptly correcting any deviations from recommended levels, you help take care of your vehicle.
Also, including tire pressure checks in your general maintenance culture promotes a proactive maintenance culture, enabling you to identify potential problems before they become serious. Therefore, following some good practices relating to tire pressure management, as outlined above, will lead to a more pleasant driving experience with less trouble for you and your Honda Civic. Remember, monitoring tire pressure can distinguish between optimum performance and becoming a victim of wrong tire pressure problems.
FAQs
[sp_easyaccordion id=”2026″]