
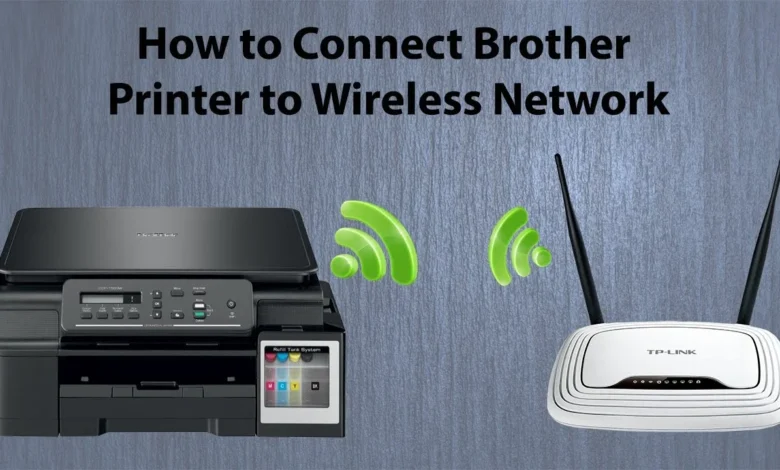
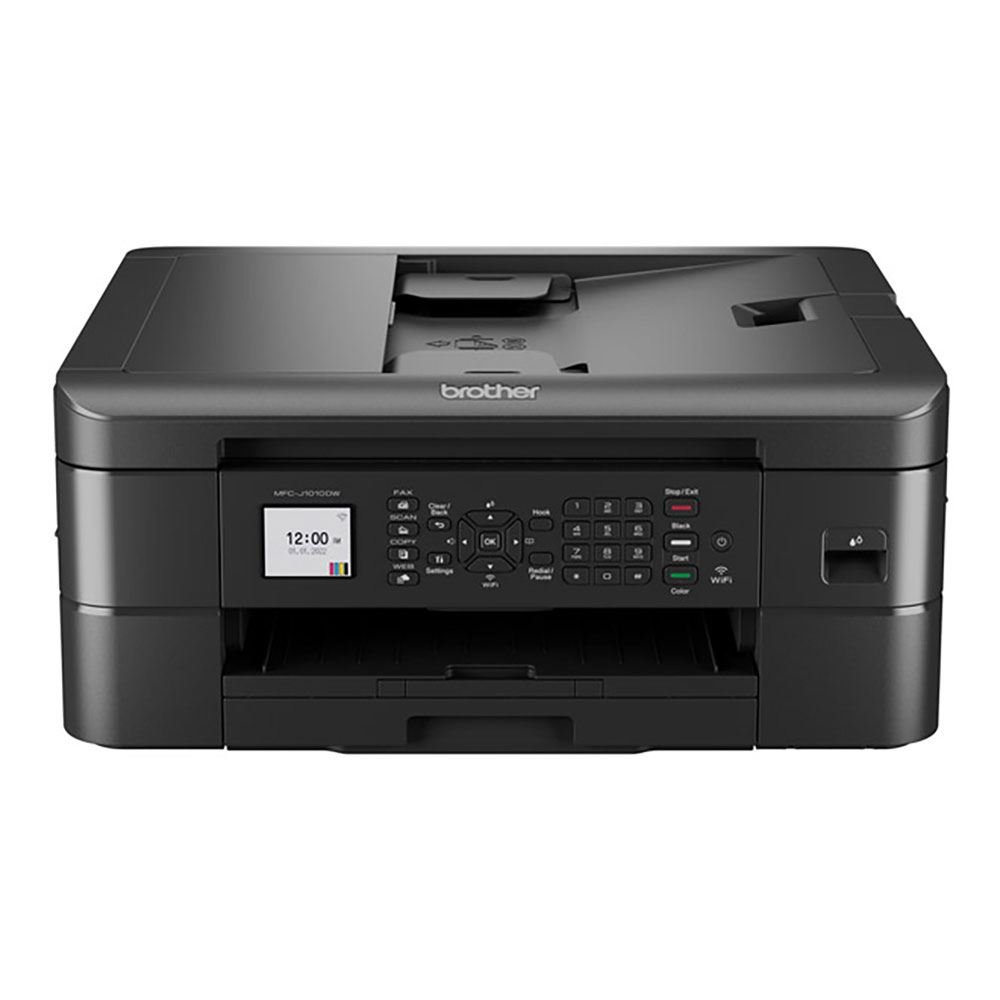
Are you struggling to connect your Brother’s printer to wifi? Fear not! This complete guide walks you through every step, making setup easy. Whether you’re a tech beginner or a savvy user, these teachings ensure a faithful wireless connection. Once linked, enjoy hassle-free printing from any device; no cables are needed. Let’s embark on this journey to simplify your printing experience.
Before Connecting Your Brother Printer
Before connecting Brother Priwifi to Wi-Fi, consider the essential steps and protection before linking your Brother printer to a network, especially the Wi-Fi network. These steps include ensuring the printer’s readiness by securing it’s powered on and correctly configured, checking for any declared error messages on the power panel, and ensuring it’s primed for connection.
Moreover, it may entail collecting essential details such as the wifi network name (SSID) and password to facilitate the setup process. This phrase underscores the significance of being prepared and organized before commencing the connection procedure.
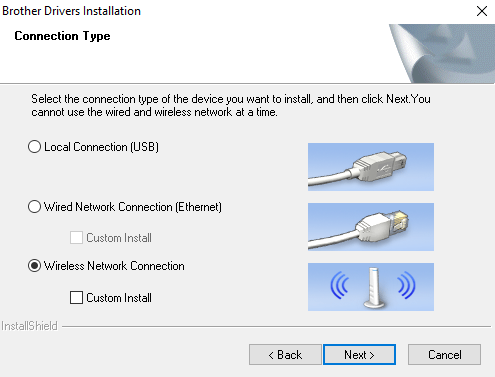
Step-by-Step Guide To Connect Brother Priwifi To wifi
Follow these steps To Connect Brother PriwifiTo wifi:
- Prepare Your Printer
- Access the Control Panel
- Choose Network Settingswifiect wifi Setup Wizard
- Choowifiour wifi Networwifiter wifi Password
- Conwifi to wifi Network
- Verify Connection
- Test Printing
-
Prepare Your Printer
Before you begin to connect Brother Priwifito wifi, it’s essential to double-check that the printer is powered on and perfectly configured. Please take a moment to confirm that it’s ready for move and that no annoying error messages are flashing on the control panel.
This easy preventive step ensures that your printer is in optimal condition to establish a flawless connection to your wireless network.
-
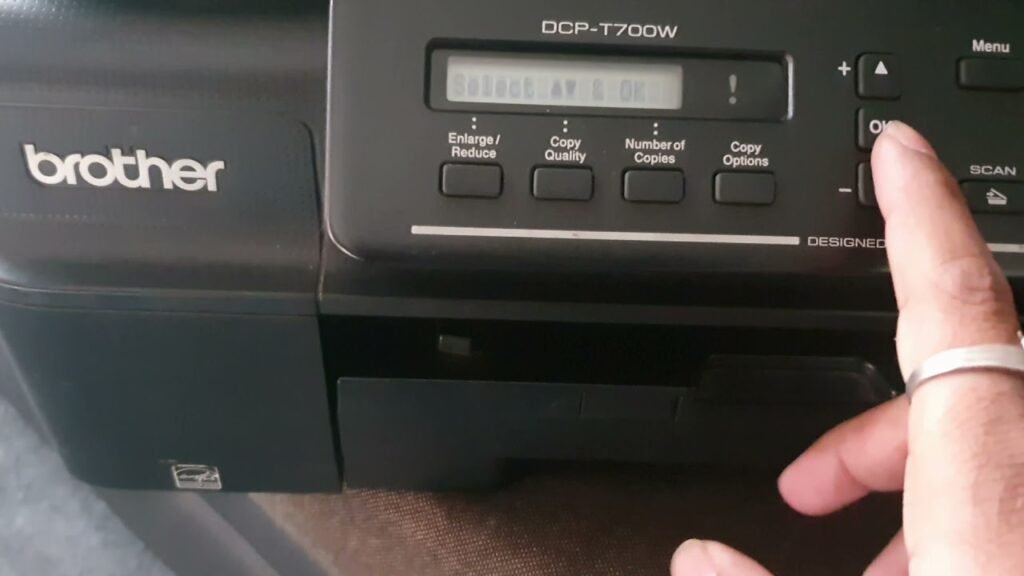
Access the Control Panel
Head over to your Brother printer’s control panel to get started. Depending on your model, you might encounter a touchscreen interface or a set of buttons. Look for the “Settings” or “Menu” option, granting you access to the printer’s settings menu.
This menu is where you’ll find all the configurations to set up your printer, including connecting wifi to wifi. By navigating through these settings, you’ll be one step closer to enjoying the convenience of wireless printing. So, let’s begin by accessing the settings menu on your Brother printer.
.
-
Choose Network Settings
Once you enter the settings menu, watch for the “NetwoWifior “Wifi” option. Here, you can manage all parts of your printer’s wireless connections. Select the suitable option to push forward with the setup process.
This step is essential for setting a solid connection between your Brother printer and your wifi network, providing easy and hassle-free printing from any device. So, let’s find and select the proper setting to continue.
-
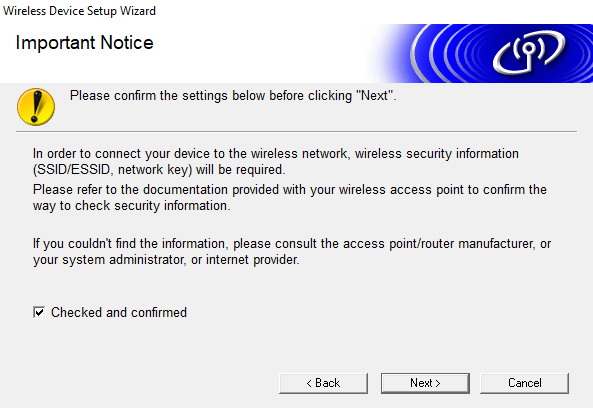
wifi wifi Setup Wizard
When you’re in the network settings menu, you’ll usually encounter a convenient feature called “Wifi Setup Wizard.” This helpful tool is your ticket to kick-start the wifi setup process effortlessly. Your printer will act by selecting this option and scanning the surrounding area for any available wireless networks.
It’s like having a digital assistant instruct you, making connecting your Brother printer to our wifi network more convenient. So, let’s dive in and verify the wifi setup to get started.
-
Choowifiour wifi Network
After scanning, your printer’s screen will showcase a lineup of wifi networks in your vicinity. Take a moment to filter through the index and pick your wifi network from the choices listed. If you can’t put your network on the list, it’s moment to troubleshoot.
Double-check if your network is within range and actively broadcasting signals. It ensures a smooth and successful connection between your Brother printer and wifi network wifi Password.
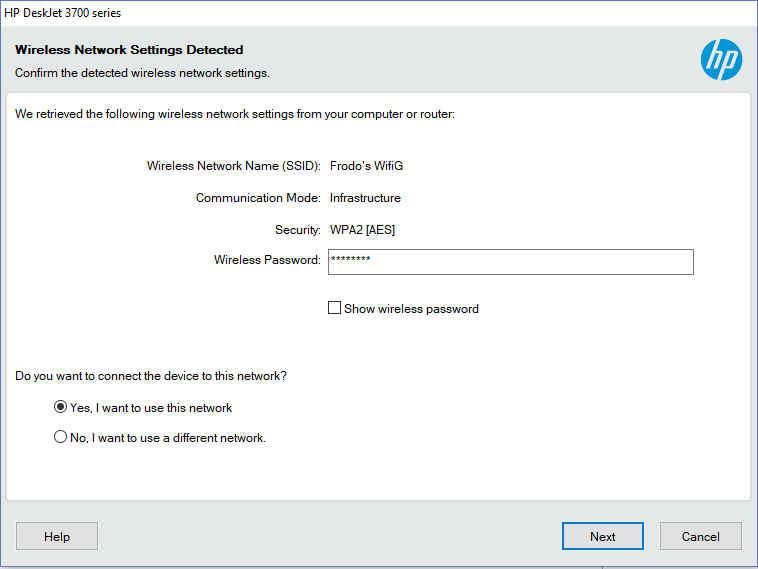
After configuring the wifi network, inputting the password is next. It prompts you to use the printer’s keypad or touchscreen for entry. It’s essential to be car wifi, as wifi passwords are case-sensitive. Ensure you input the correct symbols diligently.
This awareness of detail ensures a flawless authentication procedure, allowing your Brother printer to connect to our wifi network securely without any problems. Take your time and enter the password carefully to ensure a successful setup.
-
Conwifi to wifi Network
Once you’ve inputted the password, it’s time to link your Brother printer to the wifi network. Your printer will emerge, endeavouring to connect using the provided credentials. This connection process might take a little time, so exercise patience.
As your printer works its magic, you can relax, ensuring it’s diligently hoping to firm a stable connection to our wifi network. So, sit around, relax, and let your Brother printer do its item.
-
Verify Connection
A reassuring confirmation message will illuminate the screen once your Connect Brother Priwifi to wifi successfully connects. This message is a virtual high-five, signalling that your printer is securely linked to the wifi network. Additionally, you might notice an option to print a network configuration report for your reference.
This report delivers valuable insights into your printer’s network settings, confirming you’re always in the loop considering your printer’s connectivity status. Celebrate this milestone and consider printing the configuration report for future reference.
-
Test Printing
To double-check the connection’s reliability:
- Conduct a test print.
- Send a document or image from your computer or mobile device to the printer.
- If the printout emerges successfully, give yourself a pat on the back.
Your Connect Brother Priwifi to wifi is successfully linked and primed for action. With this confirmation, you can confidently proceed with your printing tasks, knowing your printer is seamlessly integrated into your wireless network.
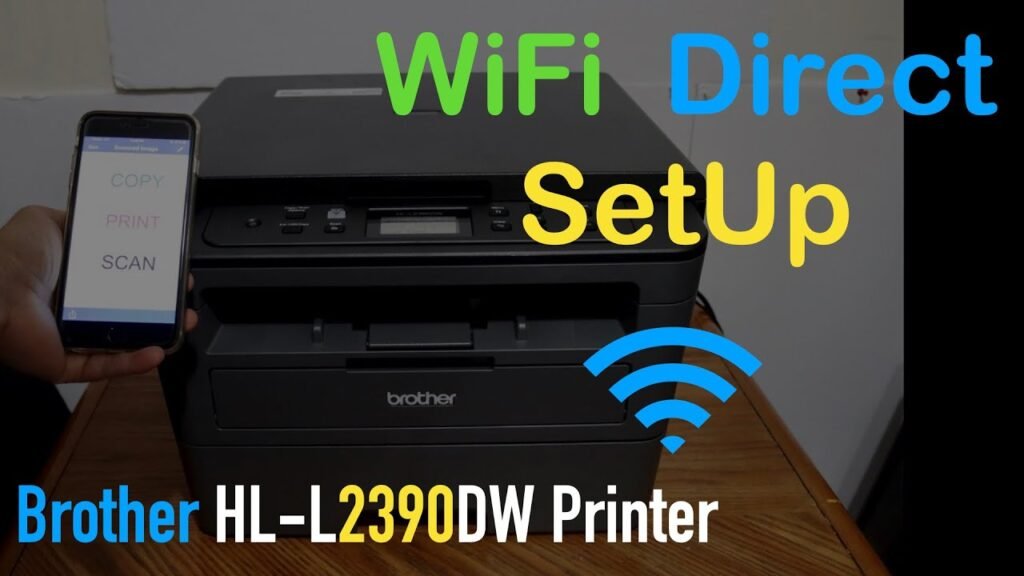
Wireless Direct Setup
Wireless Direct Setup simplifies device connectivity by enabling direct communication between devices without reliance on a conventional wifi network. In this setup, a device like a printer or smartphone generates its temporary wireless network.
Other devices, such as computers or tablets, can directly link to this network to interact with the initiating device. This method facilitates convenient and straightforward communication, mainly when conventional wifi access isn’t feasible. Wireless Direct Setup enhances connectivity options, catering to diverse user needs across different applications.
For Windows
- Go to the settings menu on your Windows device, like your computer or laptop.
- Find and turn on the Wireless Direct option in your network settings.
- Activate Wireless Direct on your Windows device to create a temporary wireless network.
- Once Wireless Direct is active, search for networks on your other device, such as a printer or side.
- Look for your Windows device’s network on the list and connect; enter any required credentials, like a password or, if asked, a security key.
- Choose your Windows device’s network to link the two devices together.
- After a successful connection, you’ll get a message confirming the Wireless Direct link.
- Wireless Direct allows you to share data between your Windows device and the connected device without needing a wifi network.
For Mac
- Once in System Preferences, find and click on the “Network” icon.
- Click “Wifi” from the list of available network connections in the Network window on the left side.
- Click the “Create Network” button. It might also be called “Join” or “Set up a new network,” allowing your Mac to create a wifi network.
- Give your new network a name and select a channel. You can also set a password and choose a security option.
- After configuring your network settings, switch “Create” or “OK” to find the new network.
- Explore available wifi networks you want to connect to, such as a printer or smartphone. Your Mac’s network should show up in the list.
- Select your Mac’s network from the list and enter the required password.
- Once connected, expect to see a confirmation message confirming your device’s connection to your Mac via Wireless Direct.
Conclusion
Follow these simple steps to connect Brother Priwifi to wifi, making printing from any device within your network easy. Welcome the comfort of wireless printing, waving goodbye to tangled cables and regulations. Enter a world where printing is as simple as a few clicks or taps, regardless of your location.
From documents to photos, unleash your creativity and productivity without being connected to a specific spot. Embark on this wireless printing journey with a smile, knowing that convenience is just a fingertip away. Happy printing!
FAQs
[sp_easyaccordion id=”2223″]