
Tinted moisturizer is a natural multitasker in the globe of makeup, delivering hydration, modest coverage, and a glowing complexion effortlessly. Regardless of your knowledge level, remembering to applying tinted moisturizer can transform your beauty regimen. This guide is your match in the journey, teaching you through every phase, from initial practice to final trims, ensuring a flawless product with each application.
Dive into the realm of tinted moisturizer with trust, knowing that you’re on the path to improving your natural beauty in an easy yet good way. When you’re searching for an ordinary everyday look or a more attractive finish, tinted moisturizer gives unmatched versatility and some respite.

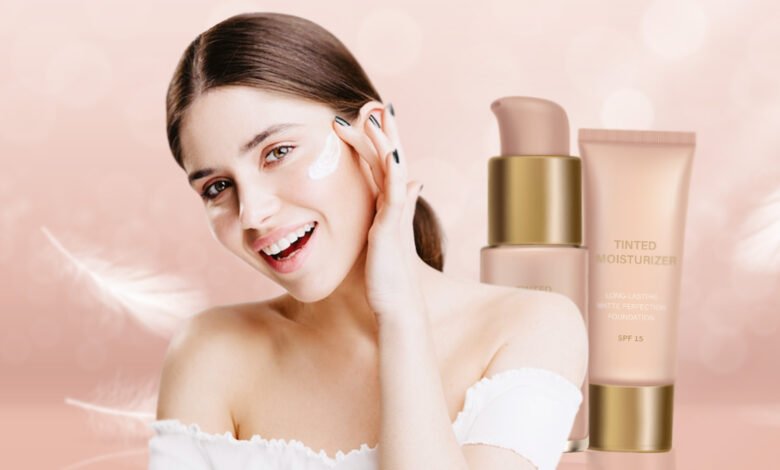
What Is A Tinted Moisturizer?
A tinted moisturizer is a beauty product that fits two goals in one. It’s like a moisturizer, but it also depends on a tiny bit of color to your skin, like foundation does. It means it provides your skin with a nice, consistent tone while keeping it hydrated. Unlike heavy foundations, tinted moisturizers are much lighter and don’t wrap everything up entirely.
They let your unaffected skin show through, which is why they’re fantastic for people who want a more realistic look. They feel dull on your skin and give you a fresh, natural finish. Plus, they usually have sound effects on your skin, like hyaluronic acid and SPF, to help keep it healthy while counting a touch of color.

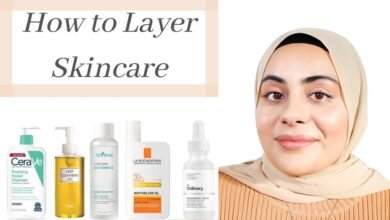
Prep Your Skin
Purify Your Skin
Utilizing a soft cleanser, wash out all the dirt, oil, and makeup remains that have gathered on your face. This cleansing practice isn’t just about cleanliness; it’s almost opening your pores, preventing unwanted breakouts, and ensuring your skin is a clean canvas for makeup application.
Select a gentle skin-specific cleanser and use circular motions to massage damp skin. Following, wash your face with warm water and lightly rub it with a smooth, clean towel.
Revitalize Your Skin
Peeling is like providing your skin a fresh beginning. By pulling dead skin cells from the cover, you’re not only boosting healthier skin but also showing a smoother, more glowing face. There are two types of scrubs: physical and chemical. Physical scrubs contain tiny grains or particles that, when used on the skin, manually exfoliate away slow skin cells.
Models contain facial scrubs, brushes, or cleansing instruments. Biochemical scrubs, on the other hand, contain practical components like alpha hydroxy acids (AHAs) and beta hydroxy acids (BHAs), which remove dead skin cells and cleanse pores. Choose the peeling process and effect that fits your skin type, and use it 2-3 times a week for best effects.
Hydrate Your Skin
It is essential to hydrate your skin in demand to maintain its fitness and supply a smooth foundation for makeup application. After washing and exfoliating, it’s duration to moisturize. Select a light, non-comedogenic moisturizer that has moisturizing ingredients, including amino acids, glycerin, and ceramides.
These features help to maintain moisture and raise your skin, while antioxidants protect against environmental injury. Apply the moisturizer evenly utilizing gentle upward strokes, spending extra attention to any sites that farm to be dry or breakable. Let the moisturizer sink in thoroughly before moving on to the makeup application.
Prime Your Skin (Optional)
While not everyone may want it, using a cosmetic primer can provide your skin an extra growth and help your makeup last longer. Primers come in lightweight, silicone-based procedures that create a soft, even surface for makeup application. They fill in nice lines, blur spots, and deliver an ideal base for your makeup.
Primers can also allow the control of extra oil, minimize the formation of pores, and enhance the devotion of makeup to the skin. To use a primer, use a trim quantity with the help of your fingertips and lightly massage it onto your face.
Focus on areas where you want to rub or mattify the skin, then let the primer set for a minute or two before using foundation or tinted moisturizer.
Select the Right Shade
Confirming you choose the right shade of tinted moisturizer is essential for a flawless finish. Take your time to test other shades on your jawline or inner wrist to find the perfect match for your skin tone. View factors such as undertones and natural lighting to achieve a seamless blend.

Normal Skin
– Pick lightweight options that hydrate without feeling too heavy on your skin.
– Match out tinted moisturizers that go above color, delivering things like antioxidants or SPF for extra skin benefits.
– Discover a procedure that gives you a natural look, leaving your skin bright and healthful.
Dry Skin
– Go for tinted moisturizers filled with hydrating elements like hyaluronic acid or glycerin.
– Steer exact matte choices, as they might highlight dry patches on your face.
– Select creamy textures that intensely moisturize, exiting your skin, touching, soft and nurturing.
Oily Skin
– Look for oil-free or mattifying tinted moisturizers to manage shine all day long.
– Make sure they’re labeled as non-comedogenic to prevent clogged pores.
– Consider formulas with oil-absorbing ingredients such as kaolin clay or silica for a matte, shine-free finish.
Combination Skin
– Opt for lightweight formulas that offer hydration without adding extra grease.
– Desire out tinted moisturizers that balance oil exhibited in your T-zone while still moisturizing dry places.
– Think about utilizing other products on different parts of your face to manage typical skin requirements and keep your face balanced.
Apply Tinted Moisturizer
Gentle Touch with Fingertips
Acquiring a natural look is easy with just your fingertips. Start by putting a piece of tinted moisturizer on your fingertips, then gently use it on your skin using soothing, upward movements. This technique allows you to control how much you apply, resulting in a modest and bright face.

Flawless Blend with Makeup Sponge
For a perfect formation, try using a wet makeup sponge. Set a small piece of tinted moisturizer on the sponge and lightly dab it onto your skin, focusing on places that need more coverage. Utilize a soft bouncing movement to combine the product evenly, leaving your skin looking smooth and flawless.

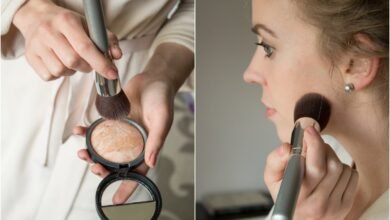
Precise Application with Foundation Brush
If you desire actual coverage, a foundation brush is your mate. Start by placing a small amount of tinted moisturizer on the back of your hand or a palette, then use the brush to lay it on your face in soft, wide motions. This process provides precise coverage and a shiny finish.

Layering for Extra Coverage
To cover up specific areas more effectively, try layering your tinted moisturizer. First, apply a thin layer all over your face using your preferred method. Then, use a small brush or your fingertips to add extra coverage to areas like blemishes or redness. Layering lets you customize your coverage while keeping your look natural.

Subtle Glow with Light Application
To achieve a bright morning look, applying tinted moisturizer with a light hand. Begin with a small amount and slowly add more as needed, mixing it into your skin for a seamless finish. This method highlights your natural looks while providing your skin with a healthy, glowing impression.

Blend, Blend, Blend
Making a perfect look applies seamlessly, applying tinted moisturizer into your skin. Take your time to confirm there are no sharp lines or patches, particularly along your jawline and hairline. Mix well to avoid any visual difference between your face and neck.
If you’re using a makeup sponge, slightly soaking it can help with softer application and blending. By paying attention to these points, you can gain a natural and actual finish that improves your overall appearance.
Set and Mattify (Optional)
Applying tinted moisturizer is essential for creating a glowing face. It’s critical to integrate it seamlessly into your skin, avoiding sharp lines or patches. Concentrate on places like the jawline and hairline to provide a natural evolution. If utilizing a makeup sponge, soaking it can aid in softer application.
Additionally, putting the tinted moisturizer with fine powder can extend its wear and fight extra oiliness, especially for those with oily skin or a choice for a matte finish. By following these steps, you can achieve a perfect look that improves your natural beauty.

Add Additional Coverage (Optional)
Applying tinted moisturizer delivers light coverage, you have the chance to personalize your appearance by relying on layers of other effects where essential. Concealer can actually mask dark circles, scars, or any skin discoloration, while a light foundation or BB cream can offer extra coverage for a more elegant look.
Remember to mix everything seamlessly to preserve a natural finish that improves your features without becoming heavy or cakey. Through experiments, you can find the ideal product blend that suits your skin’s requirements and tastes, leaving you feeling secure and bright.
Enhance with Highlighter (Optional)
To enhance your glow, try adding a hint of highlighter to the critical areas of your face. Using a little brush or your fingertips, apply the product to your cheekbones, brow bone, arrow, and nose arch. This simple step adds depth and luminosity, taking your tinted moisturizer look to the next level.
By accentuating these high points, you’ll achieve a radiant and youthful complexion that exudes confidence and beauty.

Set Your Makeup
To ensure your makeup stays longer, use a set spray. Keep the bottle at arm’s length and gently mist your face evenly. This action allows you to close your makeup in position, stopping it from spreading or shrinking throughout the day.
Additionally, the setting mist adds a subtle dewiness to your complexion, enhancing the overall look. By including this final step in your routine, you may maintain your look, appearing fresh and lovely from day to night.
Conclusion
In conclusion, understanding the applying tinted moisturizer can change your beauty routine, delivering hydration, fair range, and a natural shine all in one product. Whether you’re a novice or a makeup lover, the flexibility of tinted moisturizer makes it a must-have in your makeup pack.
By following the steps outlined in this guide, from practice to finishing touches, you can reach a perfect and glowing face every time. So, assume the clarity and energy of tinted moisturizer and boost your beauty game to new extremes. Remember, confidence glows brightest when your skin is healthy and glowing.
FAQs
Can I utilize tinted moisturizer if I have pimples on my face?
Tinted moisturizers with proven elements are a boon for acne-prone skin. Choose oil-free effects enriched with acne-fighting chemicals like salicylic or hyaluronic acid to hydrate and soothe skin, reassuring you that your skincare routine is effective.
Should I ignore moisturizer if I use tinted moisturizer?
Moisturizing your face before utilizing tinted moisturizer is essential to keep your skin hydrated and organized for makeup. It will result in more velvety, glowing skin and inform you about the importance of proper skincare steps.
How can I boost the durability of my tinted moisturizer?
Form with a neat, well-moisturized base to extend the wear of your tinted moisturizer. Fix your cosmetics with a fine powder and complete with a setting spray to close in your look. Blotting reports can also help wash up extra oil throughout the day, creating a fresh impression.
Is it right to wear tinted moisturizer during workouts or at the gym?
Tinted moisturizer is lightweight for everyday wear but may not resist extreme workouts. Work and friction can cause the product to break down, potentially leading to pore congestion. Therefore, opting for a lightweight, oil-free sunscreen or tinted sunscreen explicitly developed for active wear is best for your gym sessions.