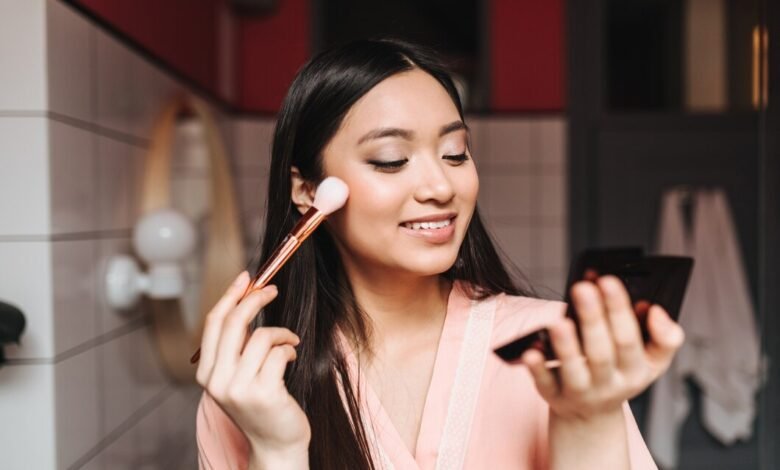
Embarking on the secrets of the Apply Blush Tutorial is akin to discovering the ideal touch to perfect your appearance. It’s an art – not just about adding color to your cheeks, but about bringing out your unique features and a natural glow that suits your special beauty.
Whether you’re a makeup pro or just starting, getting flawless blush involves more than choosing a color. It’s about knowing your skin tone, using the right tools, and getting the technique down. This guide takes you on a unique journey, making sure your blush is like your signature, blending seamlessly with your style to create a festive and refreshed version of yourself.

Step 1: Choose the Right Blush Shade for Your Skin Tone
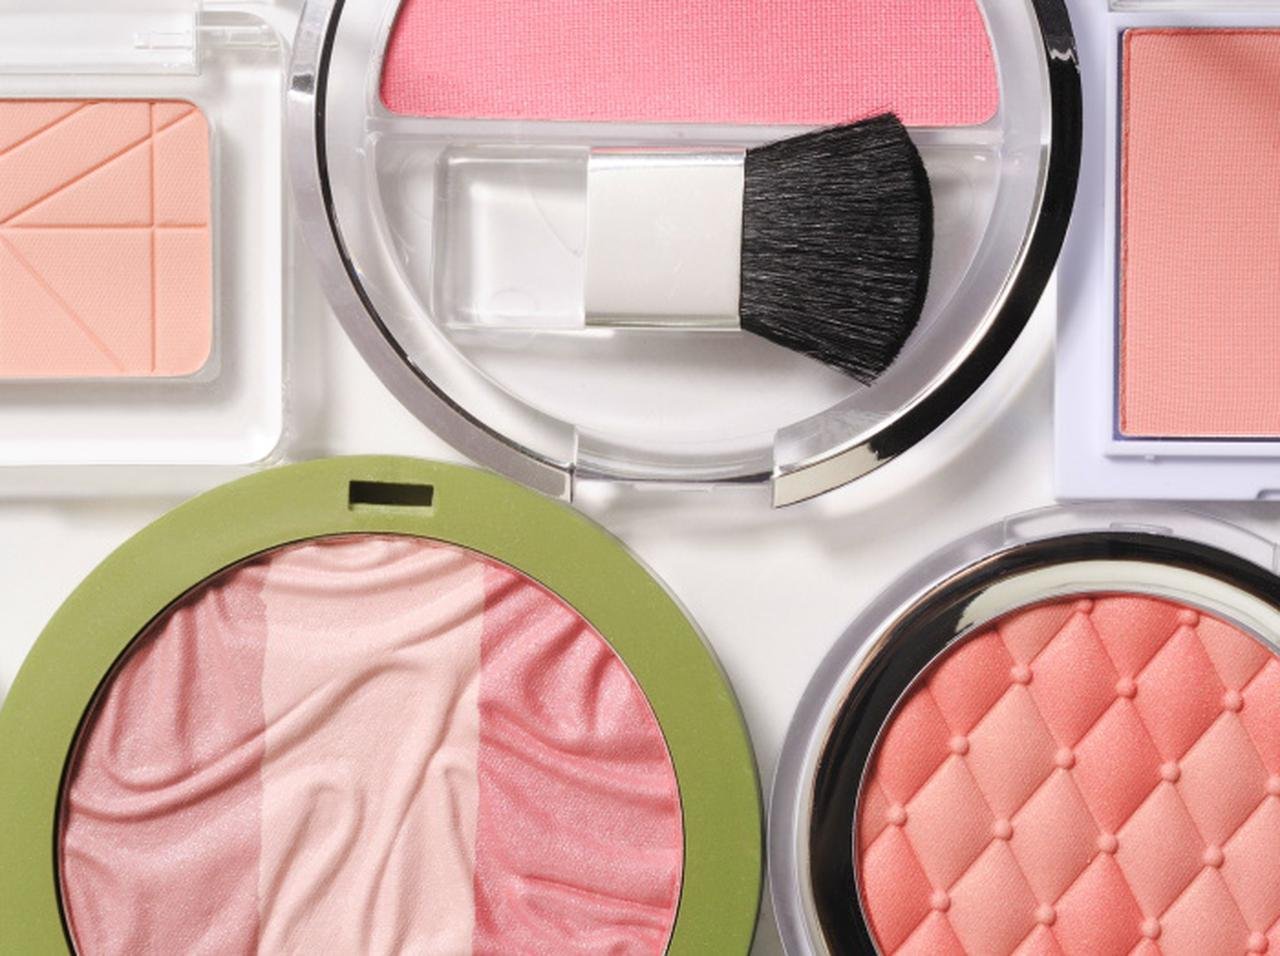
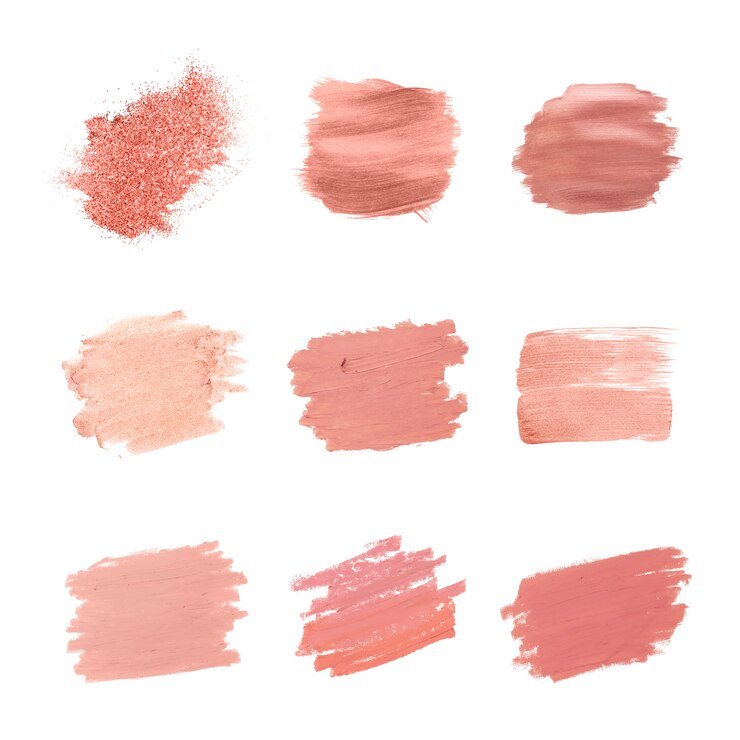
Selecting the perfect blush shade marks the starting point in crafting a seamless and flawless makeup impression. The important aspect lies in blending the color with your skin tone, aiming to enhance your natural beauty rather than eclipsing it. Let’s explore the various collections of blush shades with the following guide.
Fair Skin Tones:
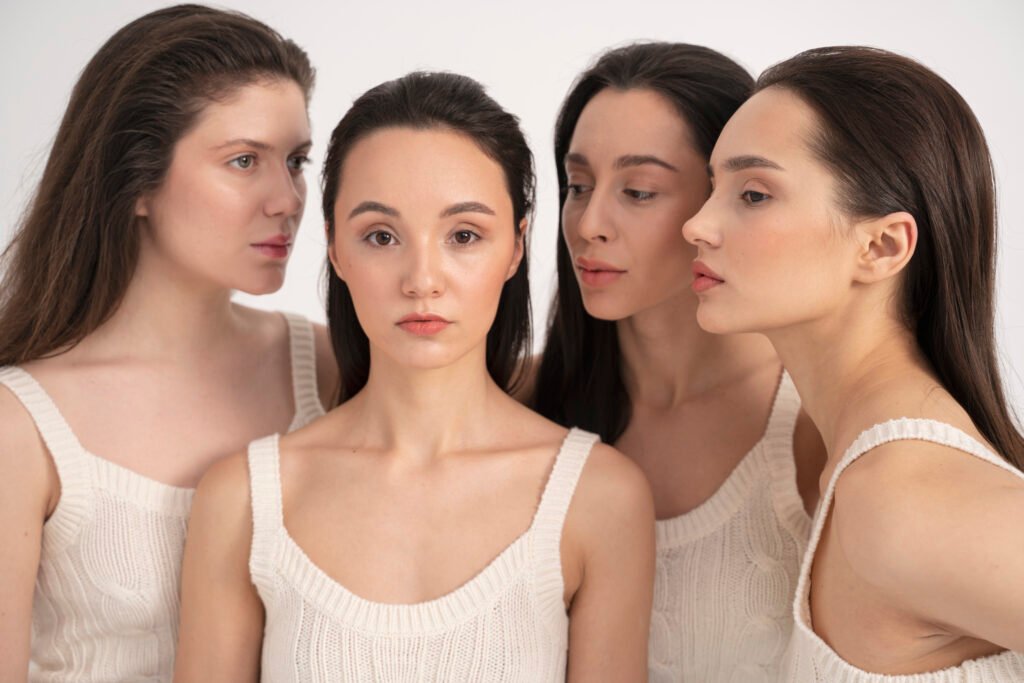
For fair complexions, delicate and soft shades work wonders. Think of subtle pinks, peaches, and light corals. These hues add a touch of color without overpowering the fair undertones.
Medium Skin Tones:
If you have a medium skin tone, choose warm coral shades, rosy pinks, and peachy tones to enhance your look. These shadows bring a healthy blush to the cheeks, making a deep and natural build.

Deep Skin Tones:
Rich berries, deep plums, and warm, earthy tones beautifully enhance deep skin tones. Embrace the boldness of these shades to create a striking and captivating effect.
Delving into a variety of blush shades reveals the ideal match for your unique skin tone. The goal is to achieve a seamlessly balanced appearance, effortlessly blending with your complexion. Ensures not only harmony but also imparts a radiant, healthy glow to your face, enhancing your natural beauty.
Step 2: Gather Your Tools
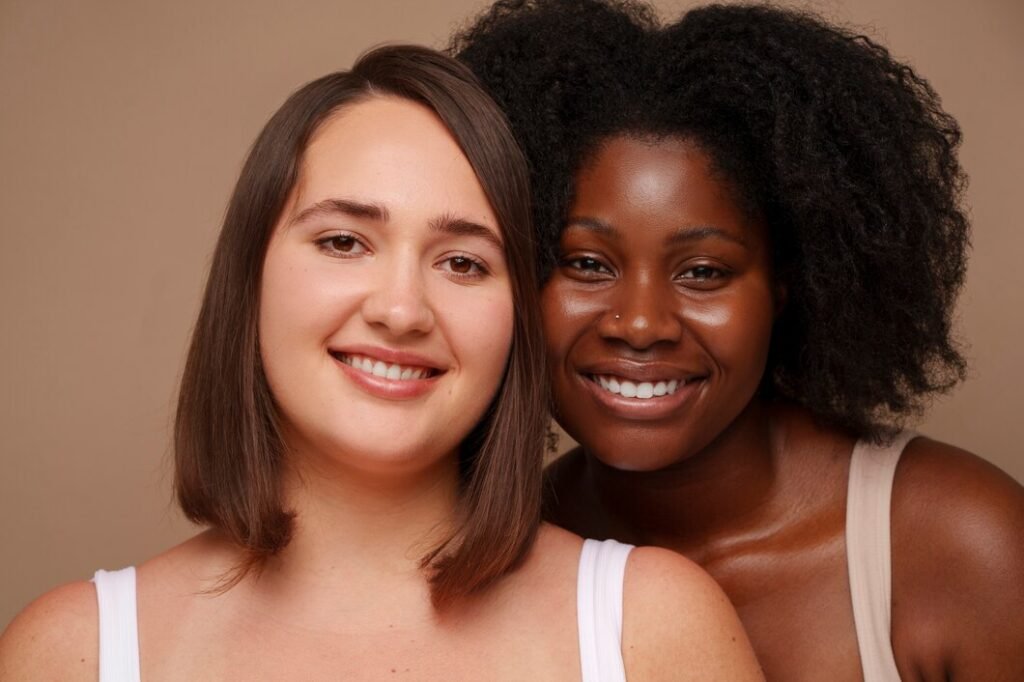
As we journey through the art of applying blush, the second step is a crucial moment – gathering your tools. This step is similar to an artist preparing his brushes before creating a masterpiece. Your primary companion in this endeavor is a quality blush brush, with soft bristles ensuring a smooth and even application. If you’re inclined towards a tactile experience, your fingertips or a makeup sponge become invaluable, especially when working with cream or liquid blush.
The importance of a clean mirror bathed in good light cannot be overstated. This is the stage where your face canvas comes alive. So, whether it’s a brush, your fingers, or a sponge, make sure your tools are ready to orchestrate your facial transformation into a stunning work of art.
Step 3: Prep Your Skin
Now that you have your tools ready, let’s begin the next chapter – preparing your skin. This step is like laying the foundation before the work of art. Starting with a clean canvas, wipe your face to remove any impurities. Hydrate your skin with a light moisturizer. Think of it as providing a smooth base for the blush masterpiece. If you want longevity, consider applying a primer to create a flawless surface.
This preparation ensures that your chosen blush shade shines through seamlessly, hugging your skin like a soft kiss. So, cleanse, moisturize, and prime – let your skin become the canvas that enhances the vibrancy of your unique blush expression.

Step 4:Crafting a Flattering Blush Application for Your Face Shape:
Blush is like a magic wand for your face, more than just adding color; it’s your tool to highlight what makes your face special. Consider it your exploration, a delightful journey to apply blush that not only imparts a rosy glow but also highlights the unique outlines of your face.
Imagine your face as an artist’s canvas, and with each application of blush, you’re crafting a miniature masterpiece. Let’s turn it into an enjoyable quest where blush isn’t merely makeup. It becomes your means of unveiling the unique beauty that is only yours.
- Oval Face: Enhance those sculpted cheekbones by gently brushing blush just above the apples, creating a subtle lift that celebrates the graceful curves of your oval face.
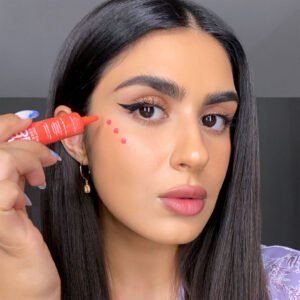

- Round Face: Sculpt and elongate by sweeping blush diagonally from apples to temples. This technique adds definition, turning your round canvas into a masterpiece of angles.
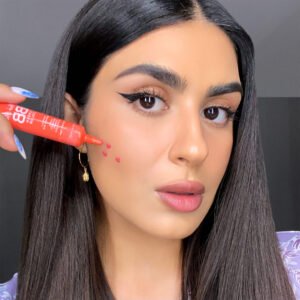
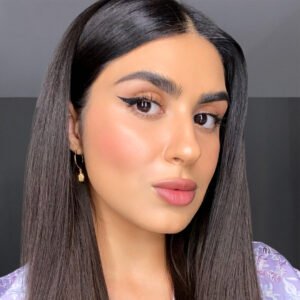
- Square Face: Soften those strong lines by delicately applying blush above the apples, curving towards the temples. Let your blush brush paint a gentle, rounded stroke.
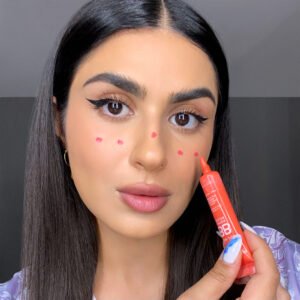

- Heart Face: Draw attention to your captivating features by applying blush in a horizontal line along your cheekbones, steering clear of the center. Balance is the key.
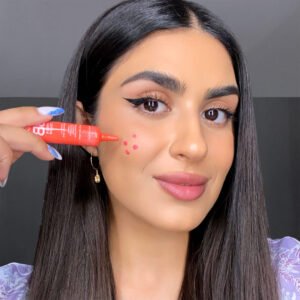

Blend your strokes with care, ensuring a seamless finish, and choose blush shades that harmonize with your skin’s unique tones. In this artistry of blush application, let your face shape guide the brush, creating a masterpiece that celebrates your individuality.
Step 5: Applying Powder Blush
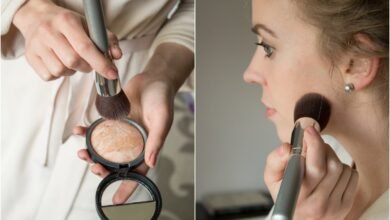
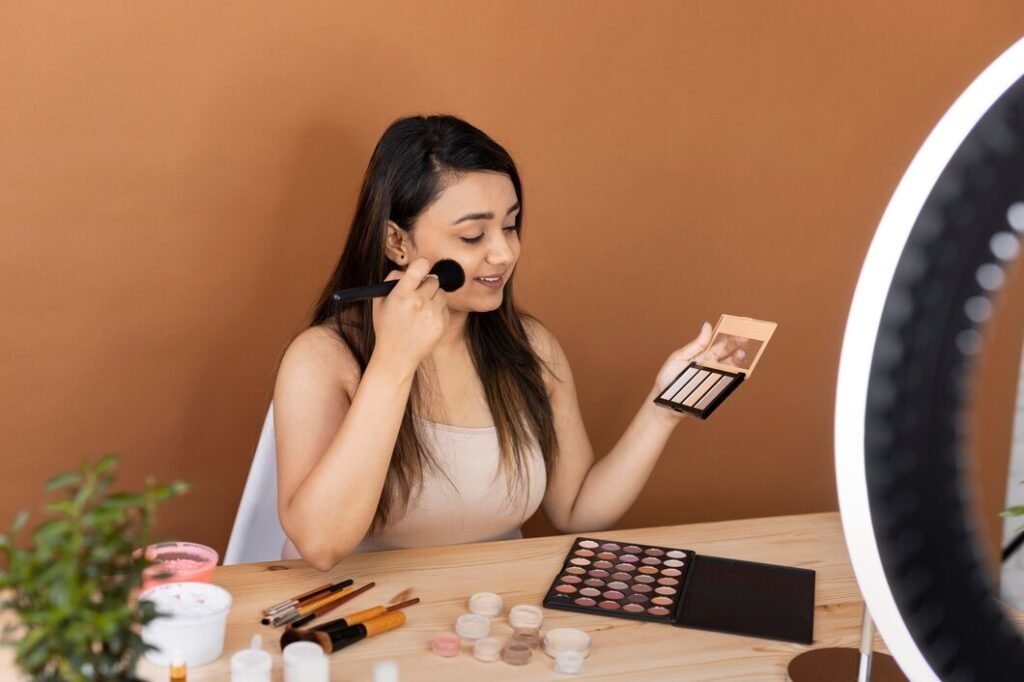
Now, let’s dive into the world of powder blush. Think of it like adding colors to your face canvas. Take your brush, dip it into the blush, and tap off any extra. Start at the apples of your cheeks – those happy spots that show up when you smile.
Brush gently towards your temples, building up the color slowly. It’s like giving your face a touch of radiance, making it light up with a natural glow. With each stroke, you’re not just applying blush; you’re giving your face its little burst of happiness.
Step 6: Applying Cream or Liquid Blush
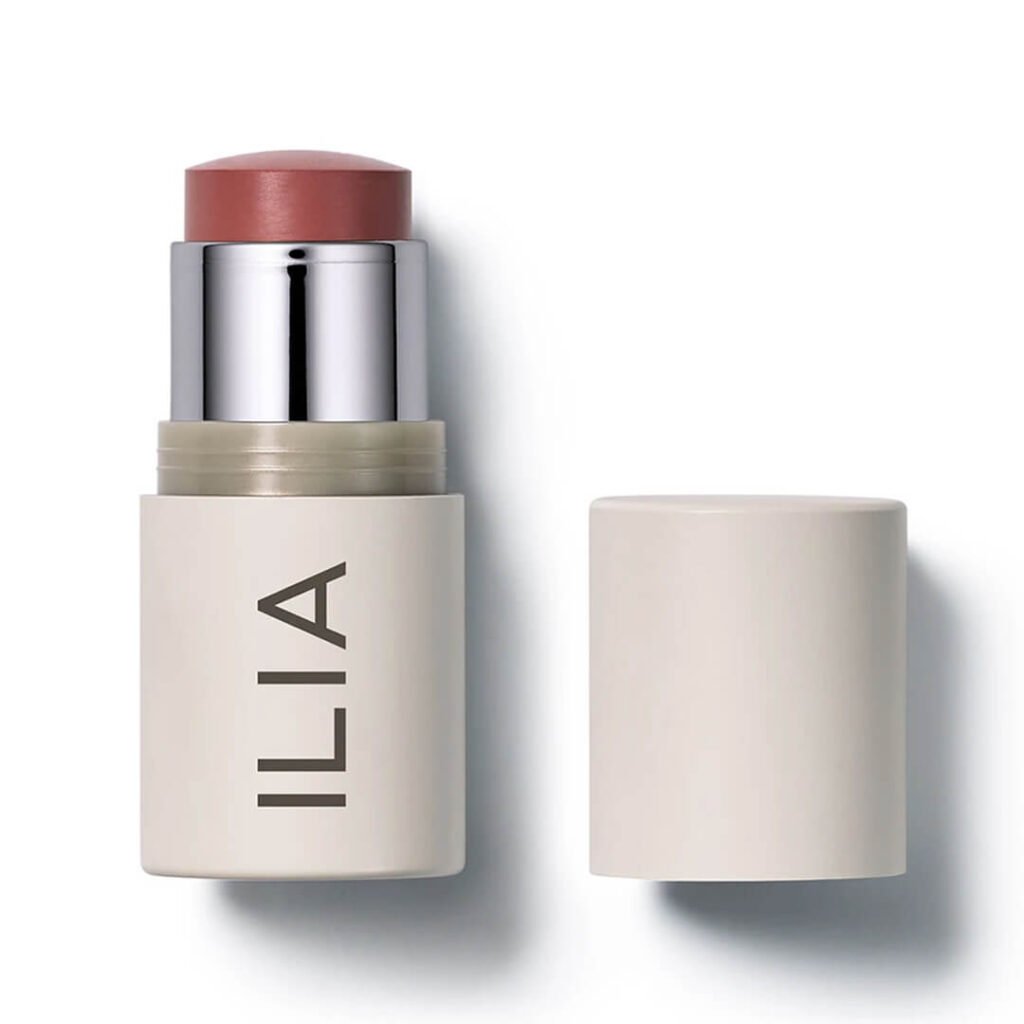
Embark on a journey into the realm of cream or liquid blush, offering your face a different kind of radiance. Put aside the powder brush and opt for the gentle touch of your fingers or a sponge, delicately applying the blush to the apples of your cheeks.
Ensure a soft tap or pat to blend it in seamlessly. These formulations unveil a vital, dew-kissed finish. It’s more than just applying makeup. It’s to brush a gentle, natural glow onto your face, showing your beauty in a completely new outlook.
Step 7: Blend, Blend, Blend
Now, transitioning into the blending phase of the Apply Blush Tutorial – it’s akin to fostering camaraderie among all the colors on your face. Whether you’re using powder, cream, or liquid blush, grab your tool (a brush, your fingers, or a sponge) and gently mix those edges into your skin.
Consider it as erasing any lines and creating a smooth, natural look. With each blend, you’re not just putting on blush. You’re making your face a beautiful, seamless canvas where all the colors play together in perfect symmetry.
Step 8: Adjusting Intensity
Now, as you’ve completed the Apply Blush Tutorial, let’s delve into perfecting it. If you feel you’ve applied a bit too much color, no worries. Take a clean brush or sponge and softly blend the blush. It’s like smoothing out a painting to get the right shades.
Another trick is to use a bit of translucent powder. Just lightly dust it over the blush to tone down the color a bit. With this step, you’re not just adjusting intensity; you’re making sure your face glows with just the right amount of color, creating your unique radiance.

Step 9: Highlighting (Optional)
Now, as we reach the concluding phase of our Apply Blush Tutorial journey, this step introduces an extra element – highlighting. Think of it as adding a hint of magic to your face. Grab a highlighter and softly sweep a subtle shimmer onto the elevated areas of your cheekbones, the bridge of your nose, and right above your lips.
This action adds sparkle, making your face glow a little more. It’s like capturing the sunlight at just the right angle. With this optional step, you’re not just adding shine. You’re giving your face that extra touch that makes it uniquely shining.
Conclusion
As we conclude our Apply Blush Tutorial journey, it’s crucial to recognize that makeup serves as your personal touch to accentuate your unique beauty. Every step – choosing the color, putting it on, blending – is like adding your flair to a canvas. Blush isn’t just about color; it’s about showing off your uniqueness.
Whether you like a subtle touch or something bolder, have fun experimenting with different shades and ways of putting it on. The optional highlighter adds a little extra magic, making your face shine even more. So, enjoy the process and let your face tell its own story, painted with the colors that make you feel your best.
FAQS
[sp_easyaccordion id=”1517″]


